What is handbuilding pottery?
Handbuilding pottery is a traditional technique where ceramic pieces are crafted without the use of a pottery wheel. Instead, artists shape clay using their hands and simple tools. This method allows for greater creativity and individuality in each piece.
Main handbuilding techniques:
Pinch Potting: This technique involves pinching the clay into shape. The artist starts with a ball of clay and uses their fingers to create a hollow form.
Coil Building: In this method, long rolls of clay (coils) are stacked and blended together to form a vessel. The coils can be smoothed out for a seamless appearance or left textured for a more rustic look.
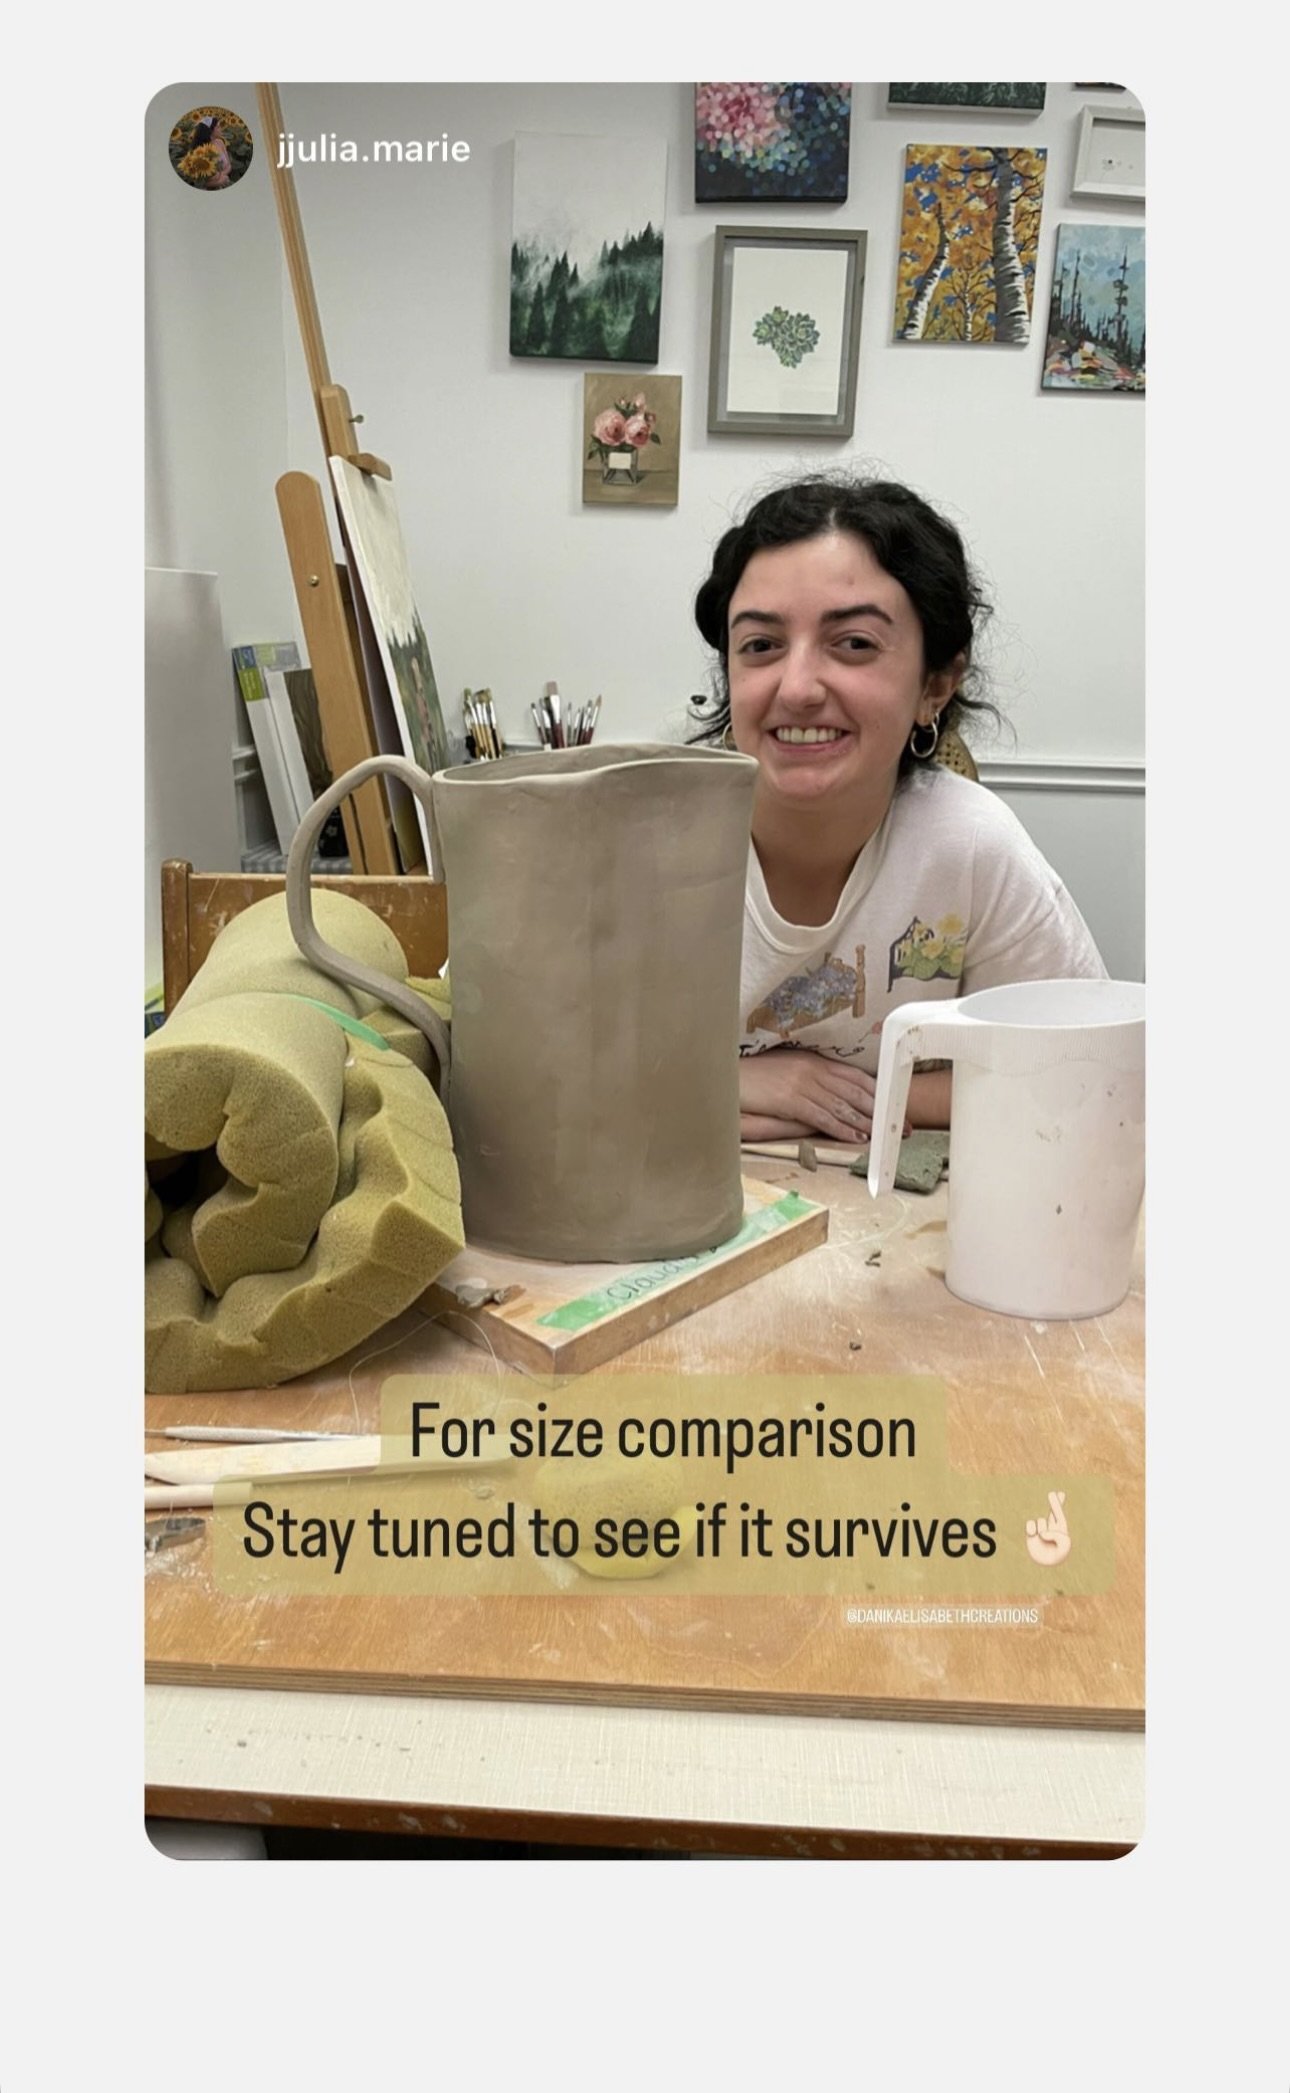
Slab Construction: This technique uses flat pieces (slabs) of clay that are cut and joined together. Slabs can be shaped into various forms, making it ideal for creating boxes, plates, or more complex structures.
Sculptural Techniques: Artists can also create three-dimensional sculptures or decorative pieces by assembling different forms and adding details.
Handbuilding allows for a personal touch and is accessible to beginners and experienced potters alike, fostering experimentation and artistic expression. After shaping, the pieces are typically dried, fired in a kiln, then glazed, and fired in a kiln again to finish.
Interested in trying our 3 week handbuilding lessons?
Night 1 (2-3 hours): Learn and practice the four main handbuilding techniques: pinch potting, coil building, slab construction, and sculptural techniques.
Night 2 (2-3 hours): You take the lead! Research project ideas, and I’ll guide you in creating your chosen piece, using the skills from Night 1 while having fun.
Bisque Firing: Once your pieces are complete, they must dry thoroughly before being loaded into the kiln—this can take up to a week, depending on the season and humidity. Any remaining moisture can lead to cracking or explosions. Bisque firing transforms the clay into a durable, porous state, preparing it for glazing, and this process takes 24 hours.
Night 3 (2-3 hours): Glaze application session. You’ll have access to my extensive selection of glazes, and we’ll discuss layering, wax resist, and other techniques.
Glaze Kiln Firing: After glazing, pieces will need another day or two to dry, allowing any moisture from the glaze to evaporate fully. Then, they’ll be loaded into the kiln for a 24-hour firing process that melts and fuses the glaze, creating a glass-like finish.
Pickup: After weeks of creating, you can finally see your work come to life! This exciting moment deserves a celebration.
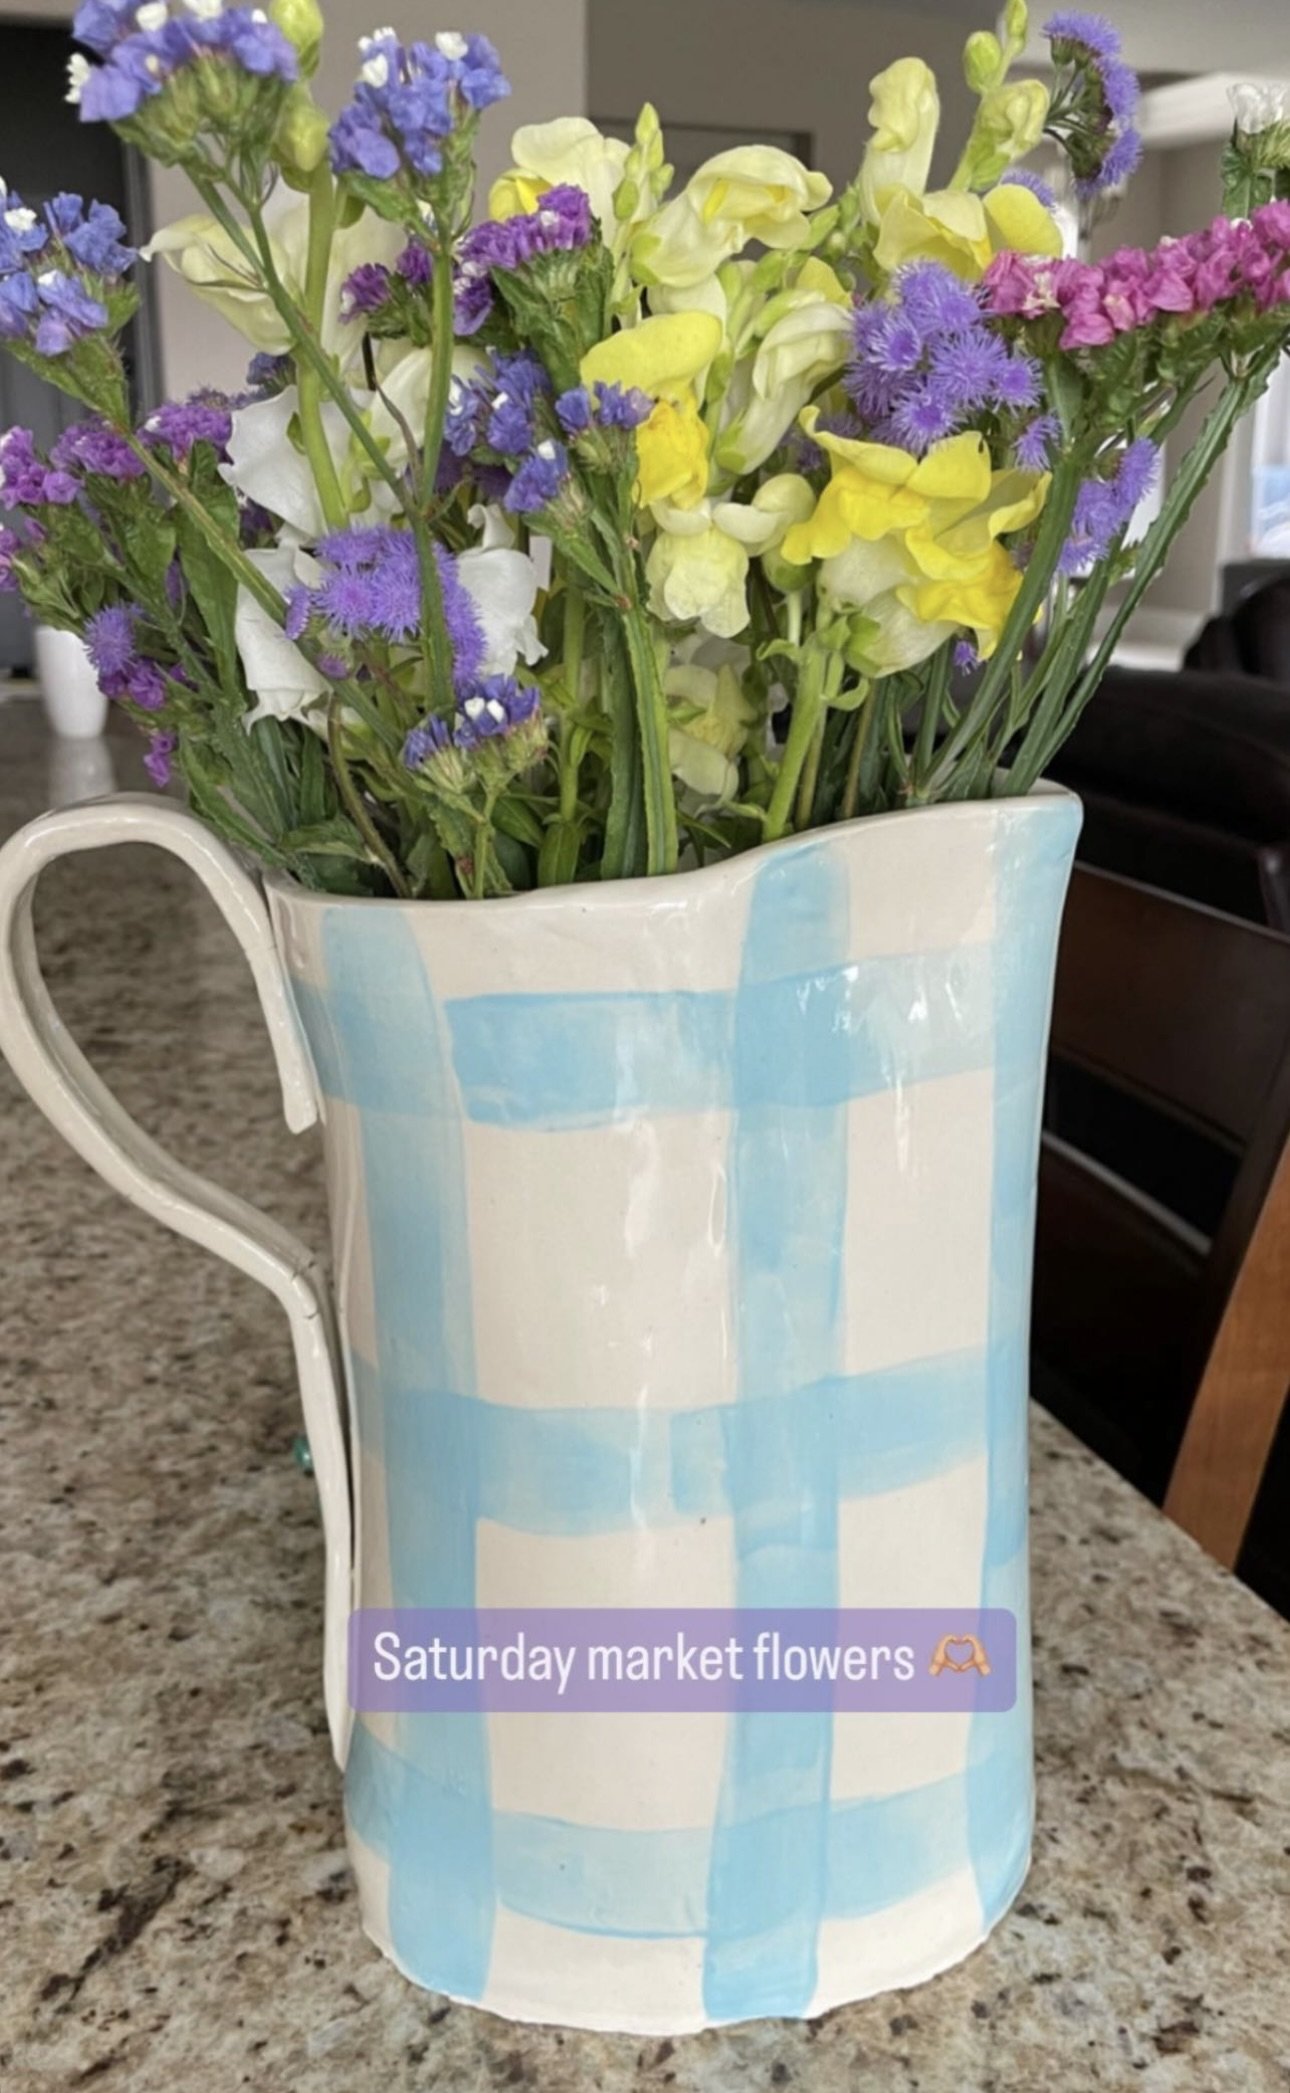
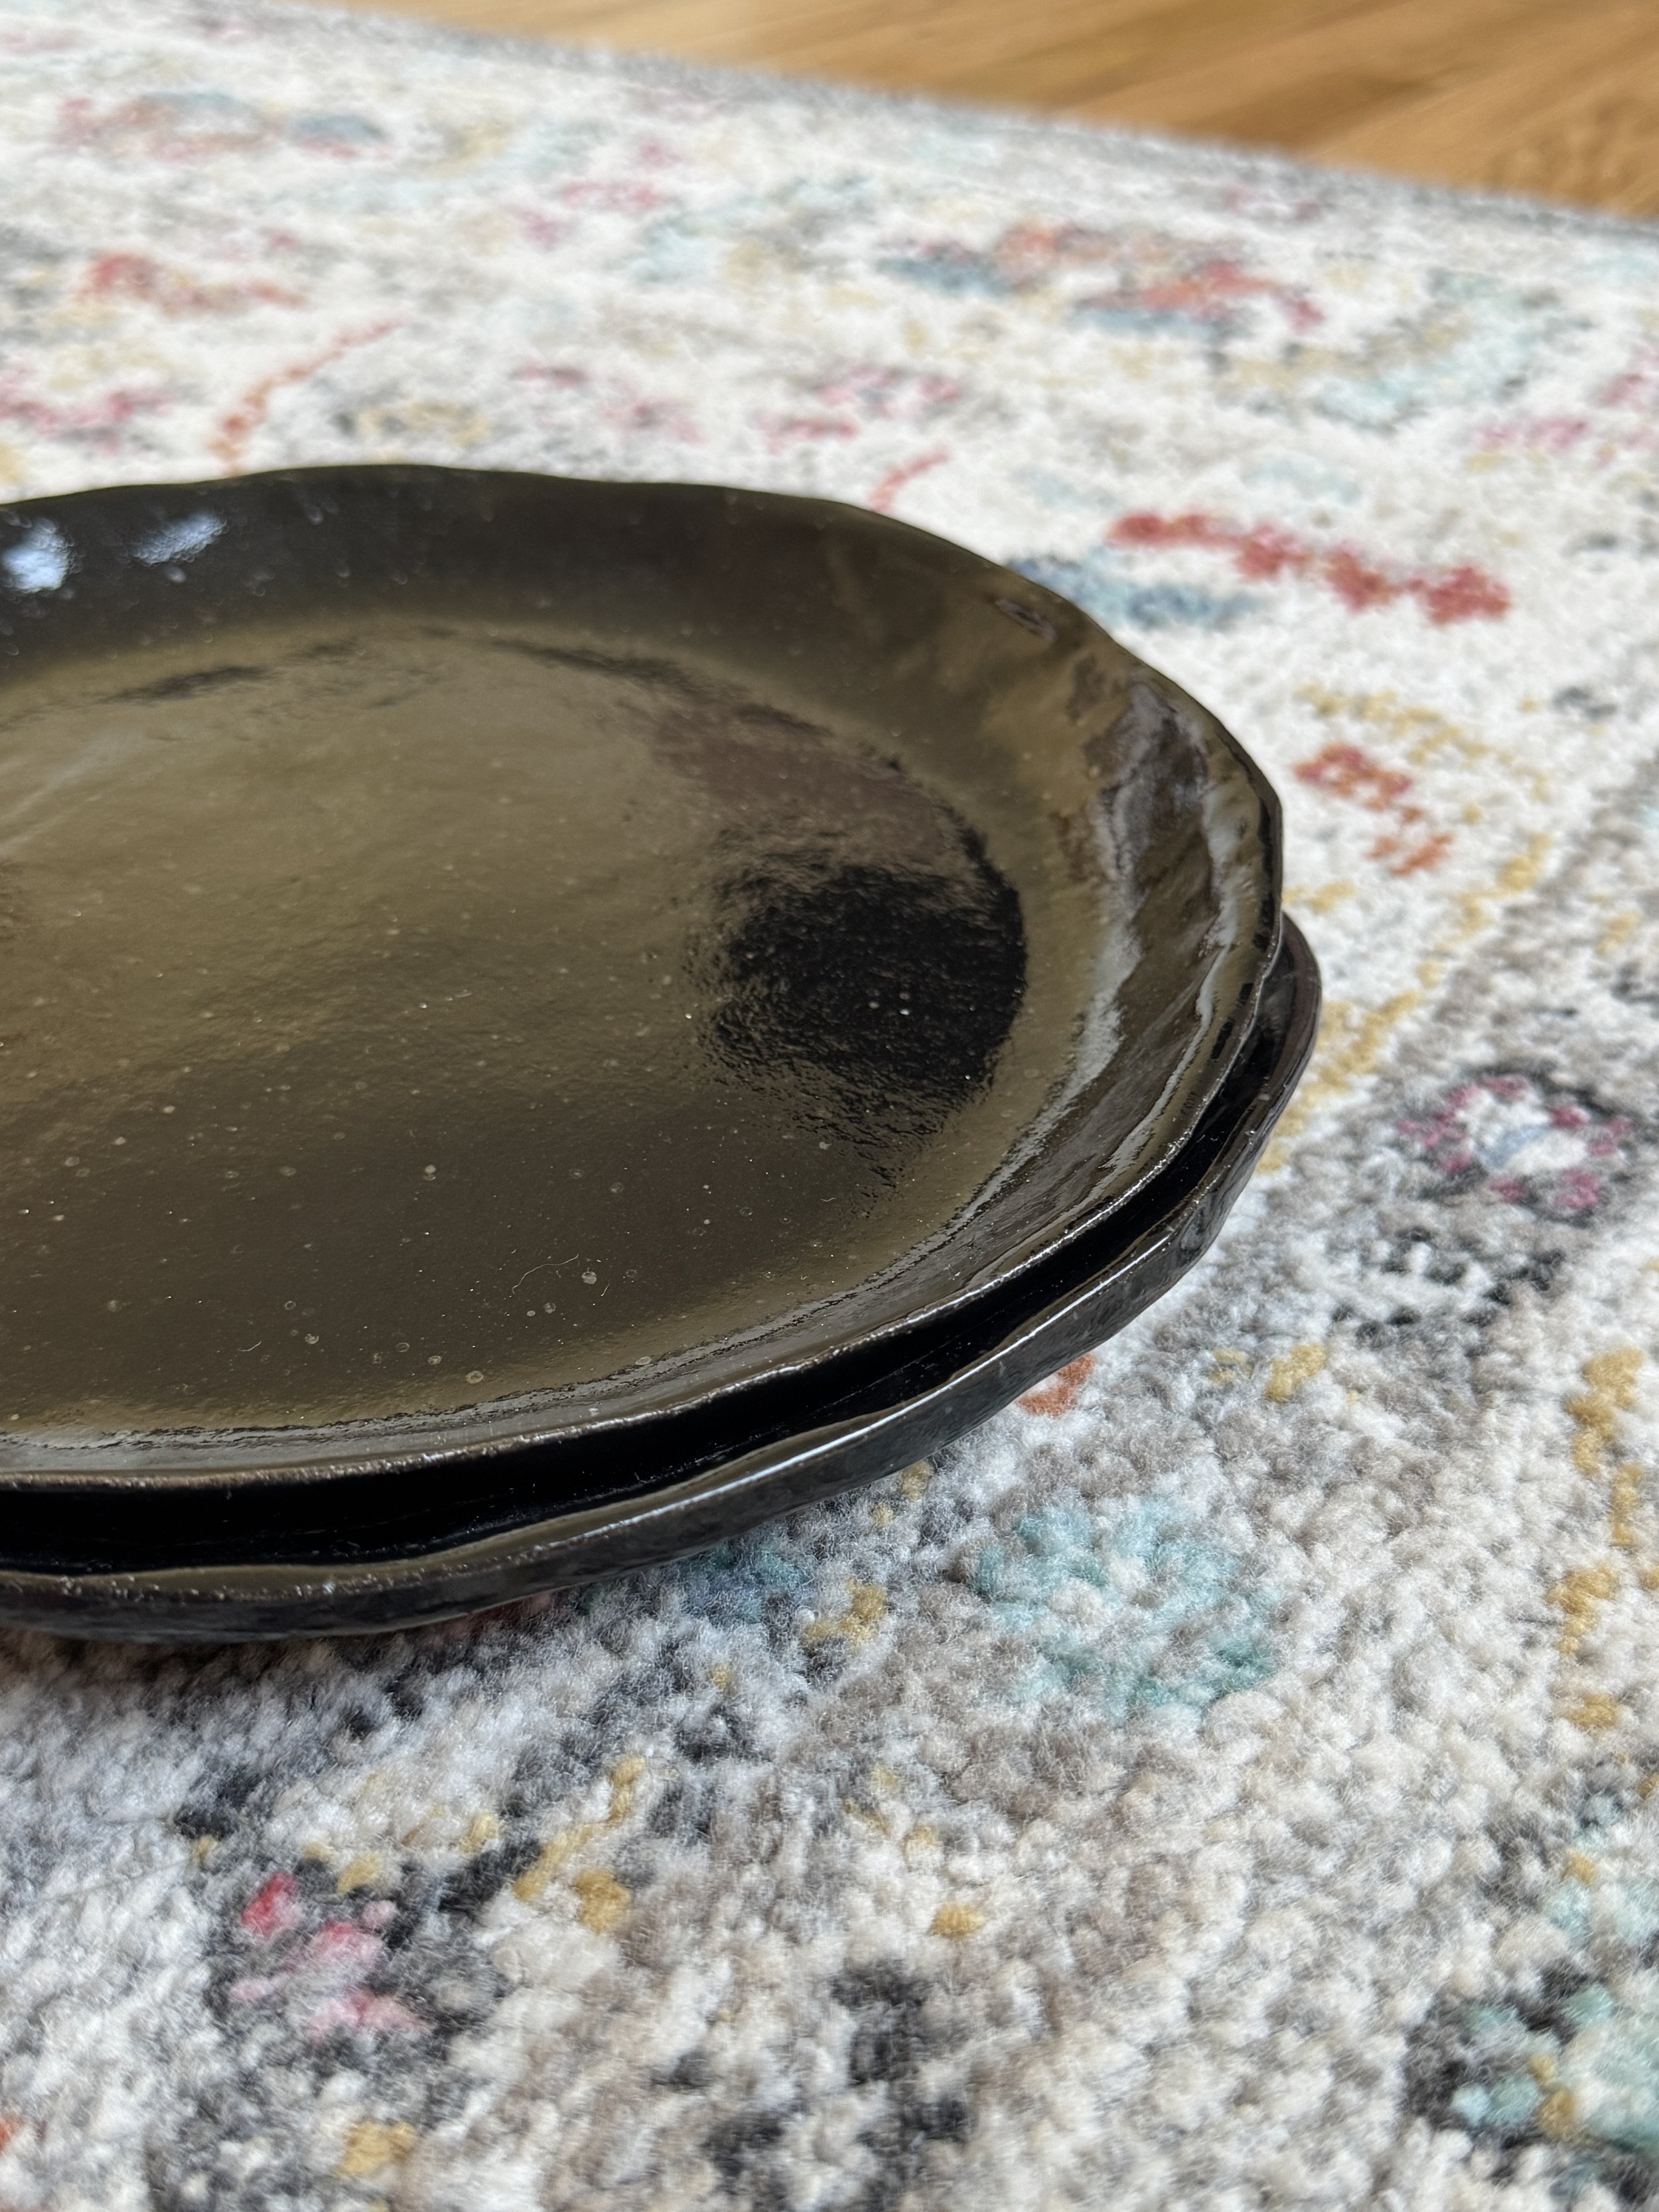
Checkout some of our past students work


